$ vagrant box add centos8 http://mirrors.ustc.edu.cn/centos-cloud/centos/8/vagrant/x86_64/images/CentOS-8-Vagrant-8.3.2011-20201204.2.x86_64.vagrant-virtualbox.box ==> box: Box file was not detected as metadata. Adding it directly... ==> box: Adding box 'centos8' (v0) for provider: box: Downloading: http://mirrors.ustc.edu.cn/centos-cloud/centos/8/vagrant/x86_64/images/CentOS-8-Vagrant-8.3.2011-20201204.2.x86_64.vagrant-virtualbox.box ==> box: Successfully added box 'centos8' (v0) for 'virtualbox'!
$ vagrant box list centos8 (virtualbox, 0) ubuntu1804 (virtualbox, 0)
# 创建本地vagrant目录 $cd vagrant
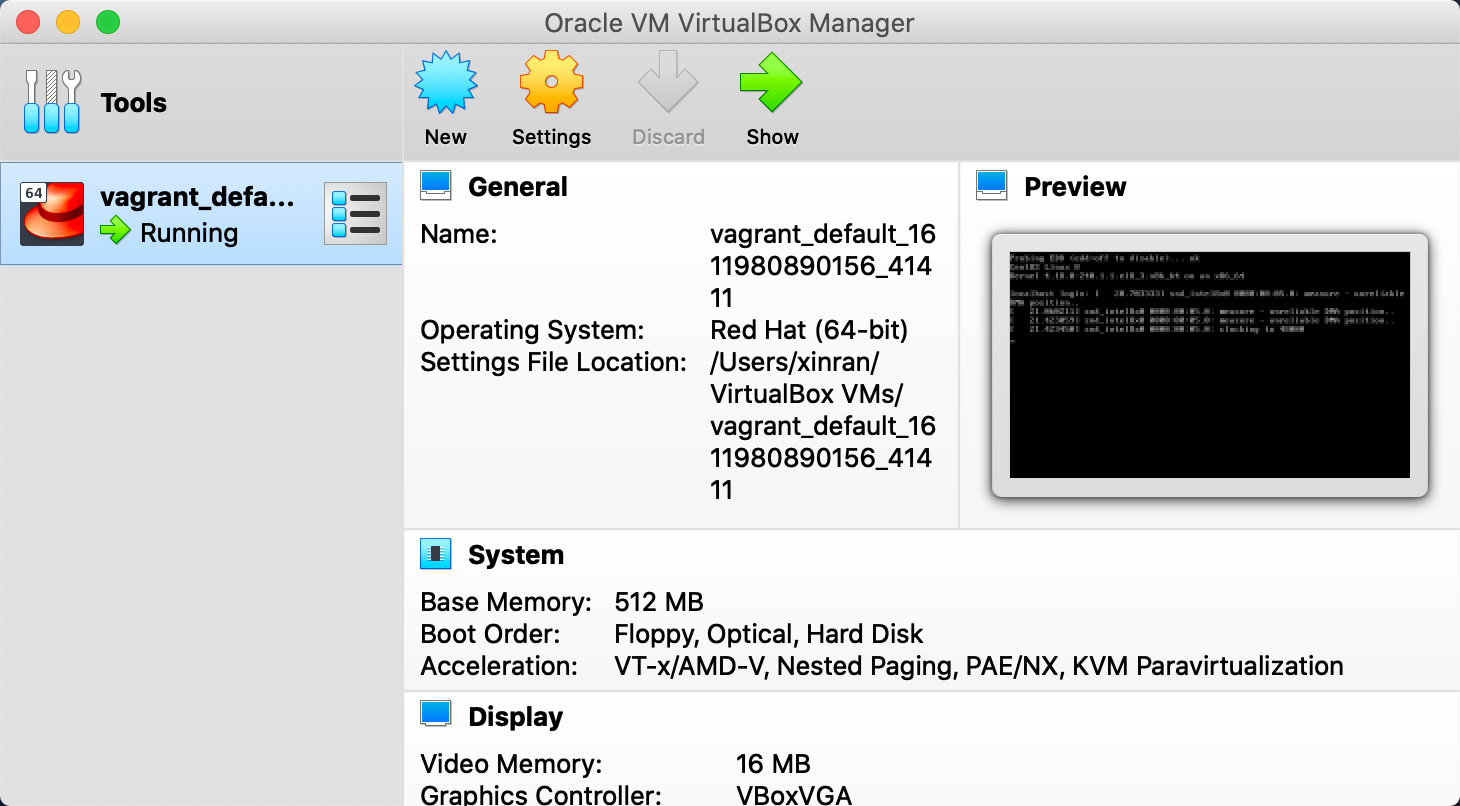
# 这一步会创建一个vm的Vagrantfile,所有关于vm的配置都在这个文件里。 $ vagrant init centos8 A `Vagrantfile` has been placed in this directory. You are now ready to `vagrant up` your first virtual environment! Please read the comments in the Vagrantfile as well as documentation on `vagrantup.com` for more information on using Vagrant. # 启动vm $ vagrant up Bringing machine 'default' up with 'virtualbox' provider... ==> default: Importing base box 'centos8'... ==> default: Matching MAC address for NAT networking... ==> default: Setting the name of the VM: vagrant_default_1611980890156_41411 ==> default: Clearing any previously set network interfaces... ==> default: Preparing network interfaces based on configuration... default: Adapter 1: nat default: Adapter 2: hostonly ==> default: Forwarding ports... default: 22 (guest) => 2222 (host) (adapter 1) # 端口映射, 如果起了多个vagrant vm,那么各个 # vm 会映射到host的不同端口 ==> default: Booting VM... ==> default: Waiting for machine to boot. This may take a few minutes... default: SSH address: 127.0.0.1:2222 default: SSH username: vagrant default: SSH auth method: private key default: default: Vagrant insecure key detected. Vagrant will automatically replace default: this with a newly generated keypair for better security. default: default: Inserting generated public key within guest... default: Removing insecure key from the guest if it's present... default: Key inserted! Disconnecting and reconnecting using new SSH key... ==> default: Machine booted and ready! ==> default: Checking for guest additions in VM... default: No guest additions were detected on the base box for this VM! Guest default: additions are required for forwarded ports, shared folders, host only default: networking, and more. If SSH fails on this machine, please install default: the guest additions and repackage the box to continue. default: default: This is not an error message; everything may continue to work properly, default: in which case you may ignore this message. ==> default: Configuring and enabling network interfaces... ==> default: Rsyncing folder: /Users/xinran/vagrant/ => /vagrant
# 登入/退出vm $ vagrant ssh Last login: Sat Jan 30 04:28:57 2021 from 10.0.2.2 [vagrant@localhost ~]$ [vagrant@localhost ~]$ exit logout Shared connection to 127.0.0.1 closed.